At Vesicash, we made sure that our API's are easy to access and secure, but what if we just throw some light on just the right way we expect you to use it.
Before we proceed, if you are integrating for the first time head to sandbox.vesicash.com and follow the process below.

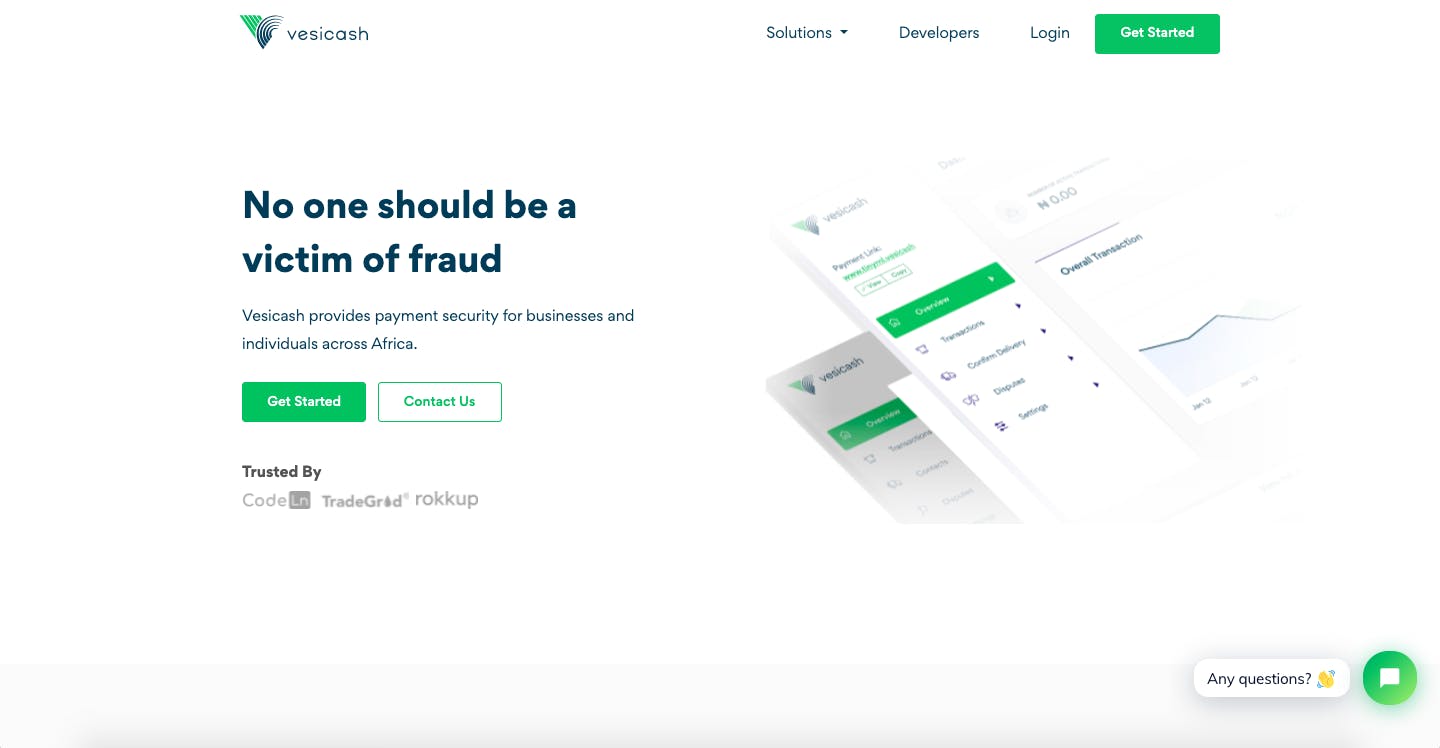
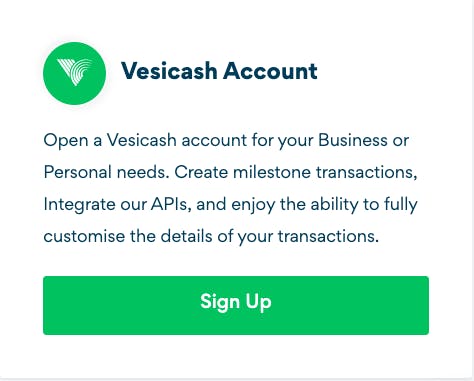
Click on "Get Started" then click on "Vesicash Account"

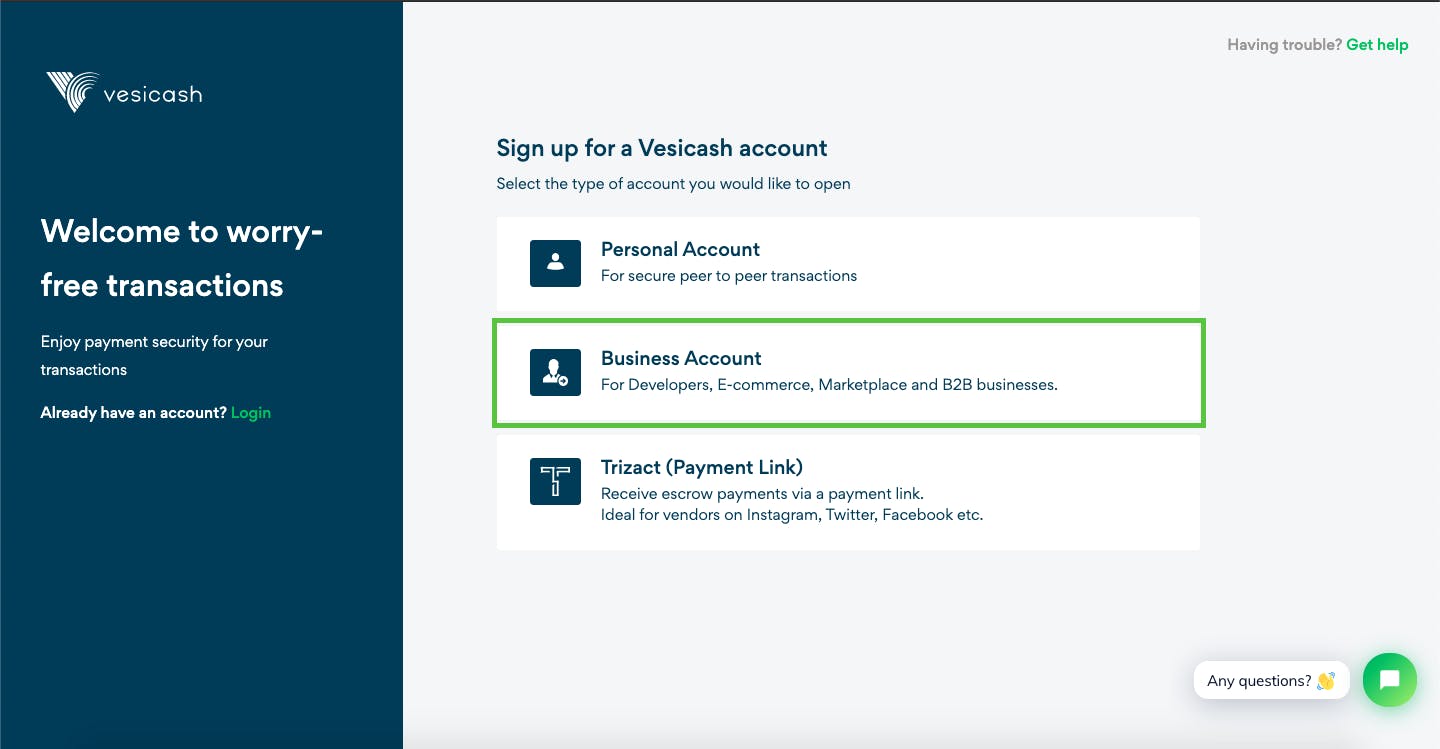
Click on "Sign up" and click on "Business Account"

Fill out the form and proceed to your dashboard.
Now you've successfully created a sandbox business account to begin integration, with this you can generate your access keys which we'll use for authentication.
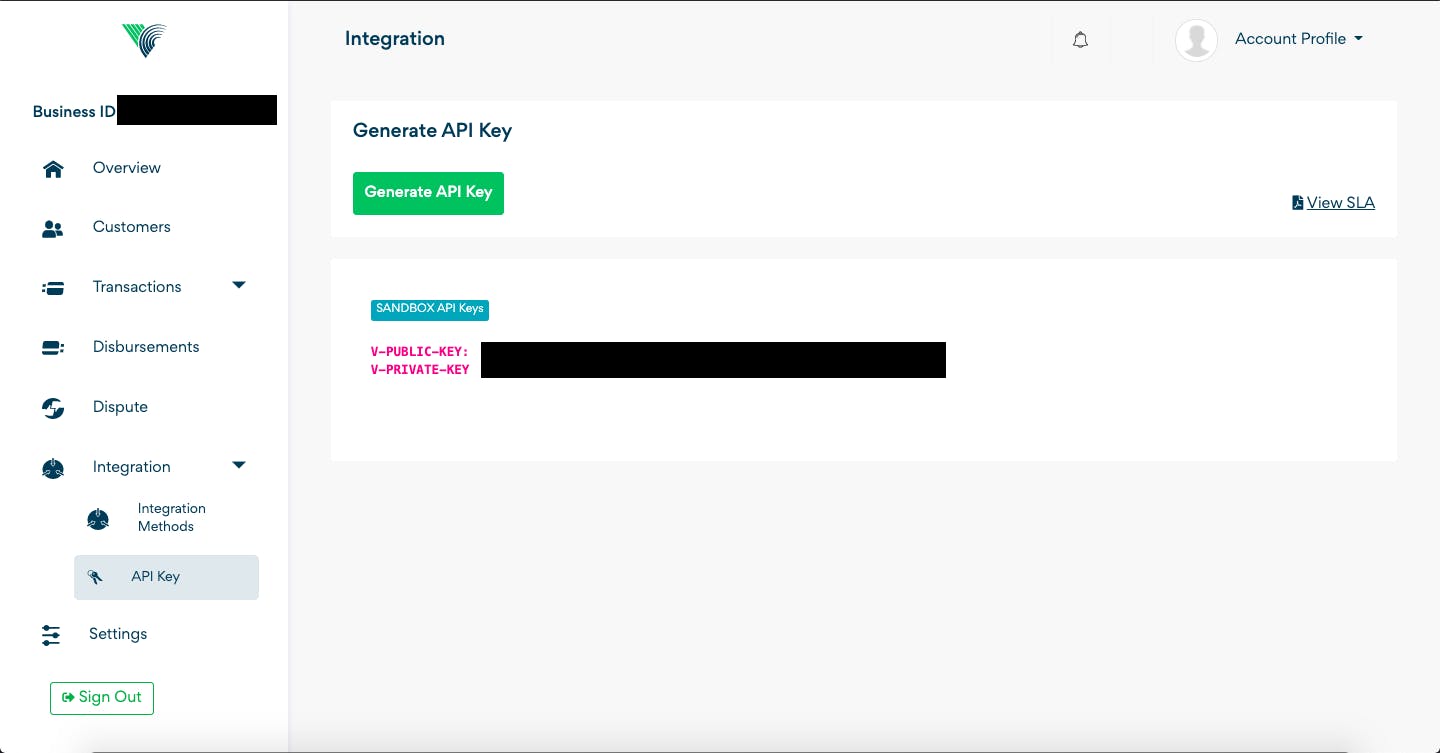
Next step: Login to your dashboard, on the left side menu, click on Integration, and then click on API Key.
Now you will see a button named 'Generate API Key'
Click on that and you should see your keys generated and displayed like the figure below.

Now that's all for generating your API KEY.
Now you're ready to make calls to the endpoint.
Your request header should look exactly like this:
curl --header Accept: --header "Content-Type: application/json" --user-agent "Firefox" --header "V-PRIVATE-KEY: v_xxxxxx" --data-binary "{\"email_address\": \"john@example.com\"}" https://sandbox.api.vesicash.com/auth/signup
PHP:
<?php
$ch = curl_init();

curl_setopt($ch, CURLOPT_URL, 'https://sandbox.api.vesicash.com/auth/signup');
curl_setopt($ch, CURLOPT_RETURNTRANSFER, 1);
curl_setopt($ch, CURLOPT_POST, 1);
curl_setopt($ch, CURLOPT_POSTFIELDS, "{\"email_address\": \"john@example.com\"}");

$headers = array();
$headers[] = 'Accept: ';
$headers[] = 'Content-Type: application/json';
$headers[] = 'V-Private-Key: v_xxxxxx';
curl_setopt($ch, CURLOPT_HTTPHEADER, $headers);

$result = curl_exec($ch);
if (curl_errno($ch)) {
    echo 'Error:' . curl_error($ch);
}
curl_close($ch);
NodeJS:
var request = require('request');

var headers = {
    'Content-Type': 'application/json',
    'V-PRIVATE-KEY': 'v_xxxxxx',
    'User-Agent': 'Firefox'
};

var dataString = '{"email_address": "john@example.com"}';

var options = {
    url: 'https://sandbox.api.vesicash.com/auth/signup',
    method: 'POST',
    headers: headers,
    body: dataString
};

function callback(error, response, body) {
    if (!error && response.statusCode == 200) {
        console.log(body);
    }
}

request(options, callback);
Python:
import requests

headers = {
    'Content-Type': 'application/json',
    'V-PRIVATE-KEY': 'v_xxxxxx',
    'User-Agent': 'Firefox',
}

data = '{"email_address": "john@example.com"}'

response = requests.post('https://sandbox.api.vesicash.com/auth/signup', headers=headers, data=data)
Go:
package main

import (
    "fmt"
    "io/ioutil"
    "log"
    "net/http"
    "strings"
)

func main() {
    client := &http.Client{}
    var data = strings.NewReader(`{"email_address": "john@example.com"}`)
    req, err := http.NewRequest("POST", "https://sandbox.api.vesicash.com/auth/signup", data)
    if err != nil {
        log.Fatal(err)
    }
    req.Header.Set("Content-Type", "application/json")
    req.Header.Set("V-PRIVATE-KEY", "v_xxxxxx")
    req.Header.Set("User-Agent", "Firefox")
    resp, err := client.Do(req)
    if err != nil {
        log.Fatal(err)
    }
    bodyText, err := ioutil.ReadAll(resp.Body)
    if err != nil {
        log.Fatal(err)
    }
    fmt.Printf("%s\n", bodyText)
}
Conclusion: I believe with these examples you have understood how easy it is to get started with the API.
Do check out the docs docs.vesicash.com for more information and code samples.
If you have any questions, suggestions, or feedback you can send a mail to techsupport@vesicash.com or drop a comment below.
PS: We are launching our PHP SDK soon!
Thank you for reading.

